London Print Kiosk is open 8am-8pm every day (including weekends) for self-service photocopying services. You can photocopy in A4 and A3 in black and white, and colour.
We are located at 199 Walworth Road, London SE17 1RL (opposite McDonald’s)
What is photocopy paper?
Printer paper is significantly thicker and slightly more expensive than copy paper. You can use any kind if you merely need to print text. You must use thicker printer paper that weights more when printing papers with graphics. The amount of light that flows through each sheet of paper has anything to do with it. Compared to printer paper, copy paper is more translucent. Images that are printed on copy paper have a saturated, wet appearance.
What is a photocopy machine?
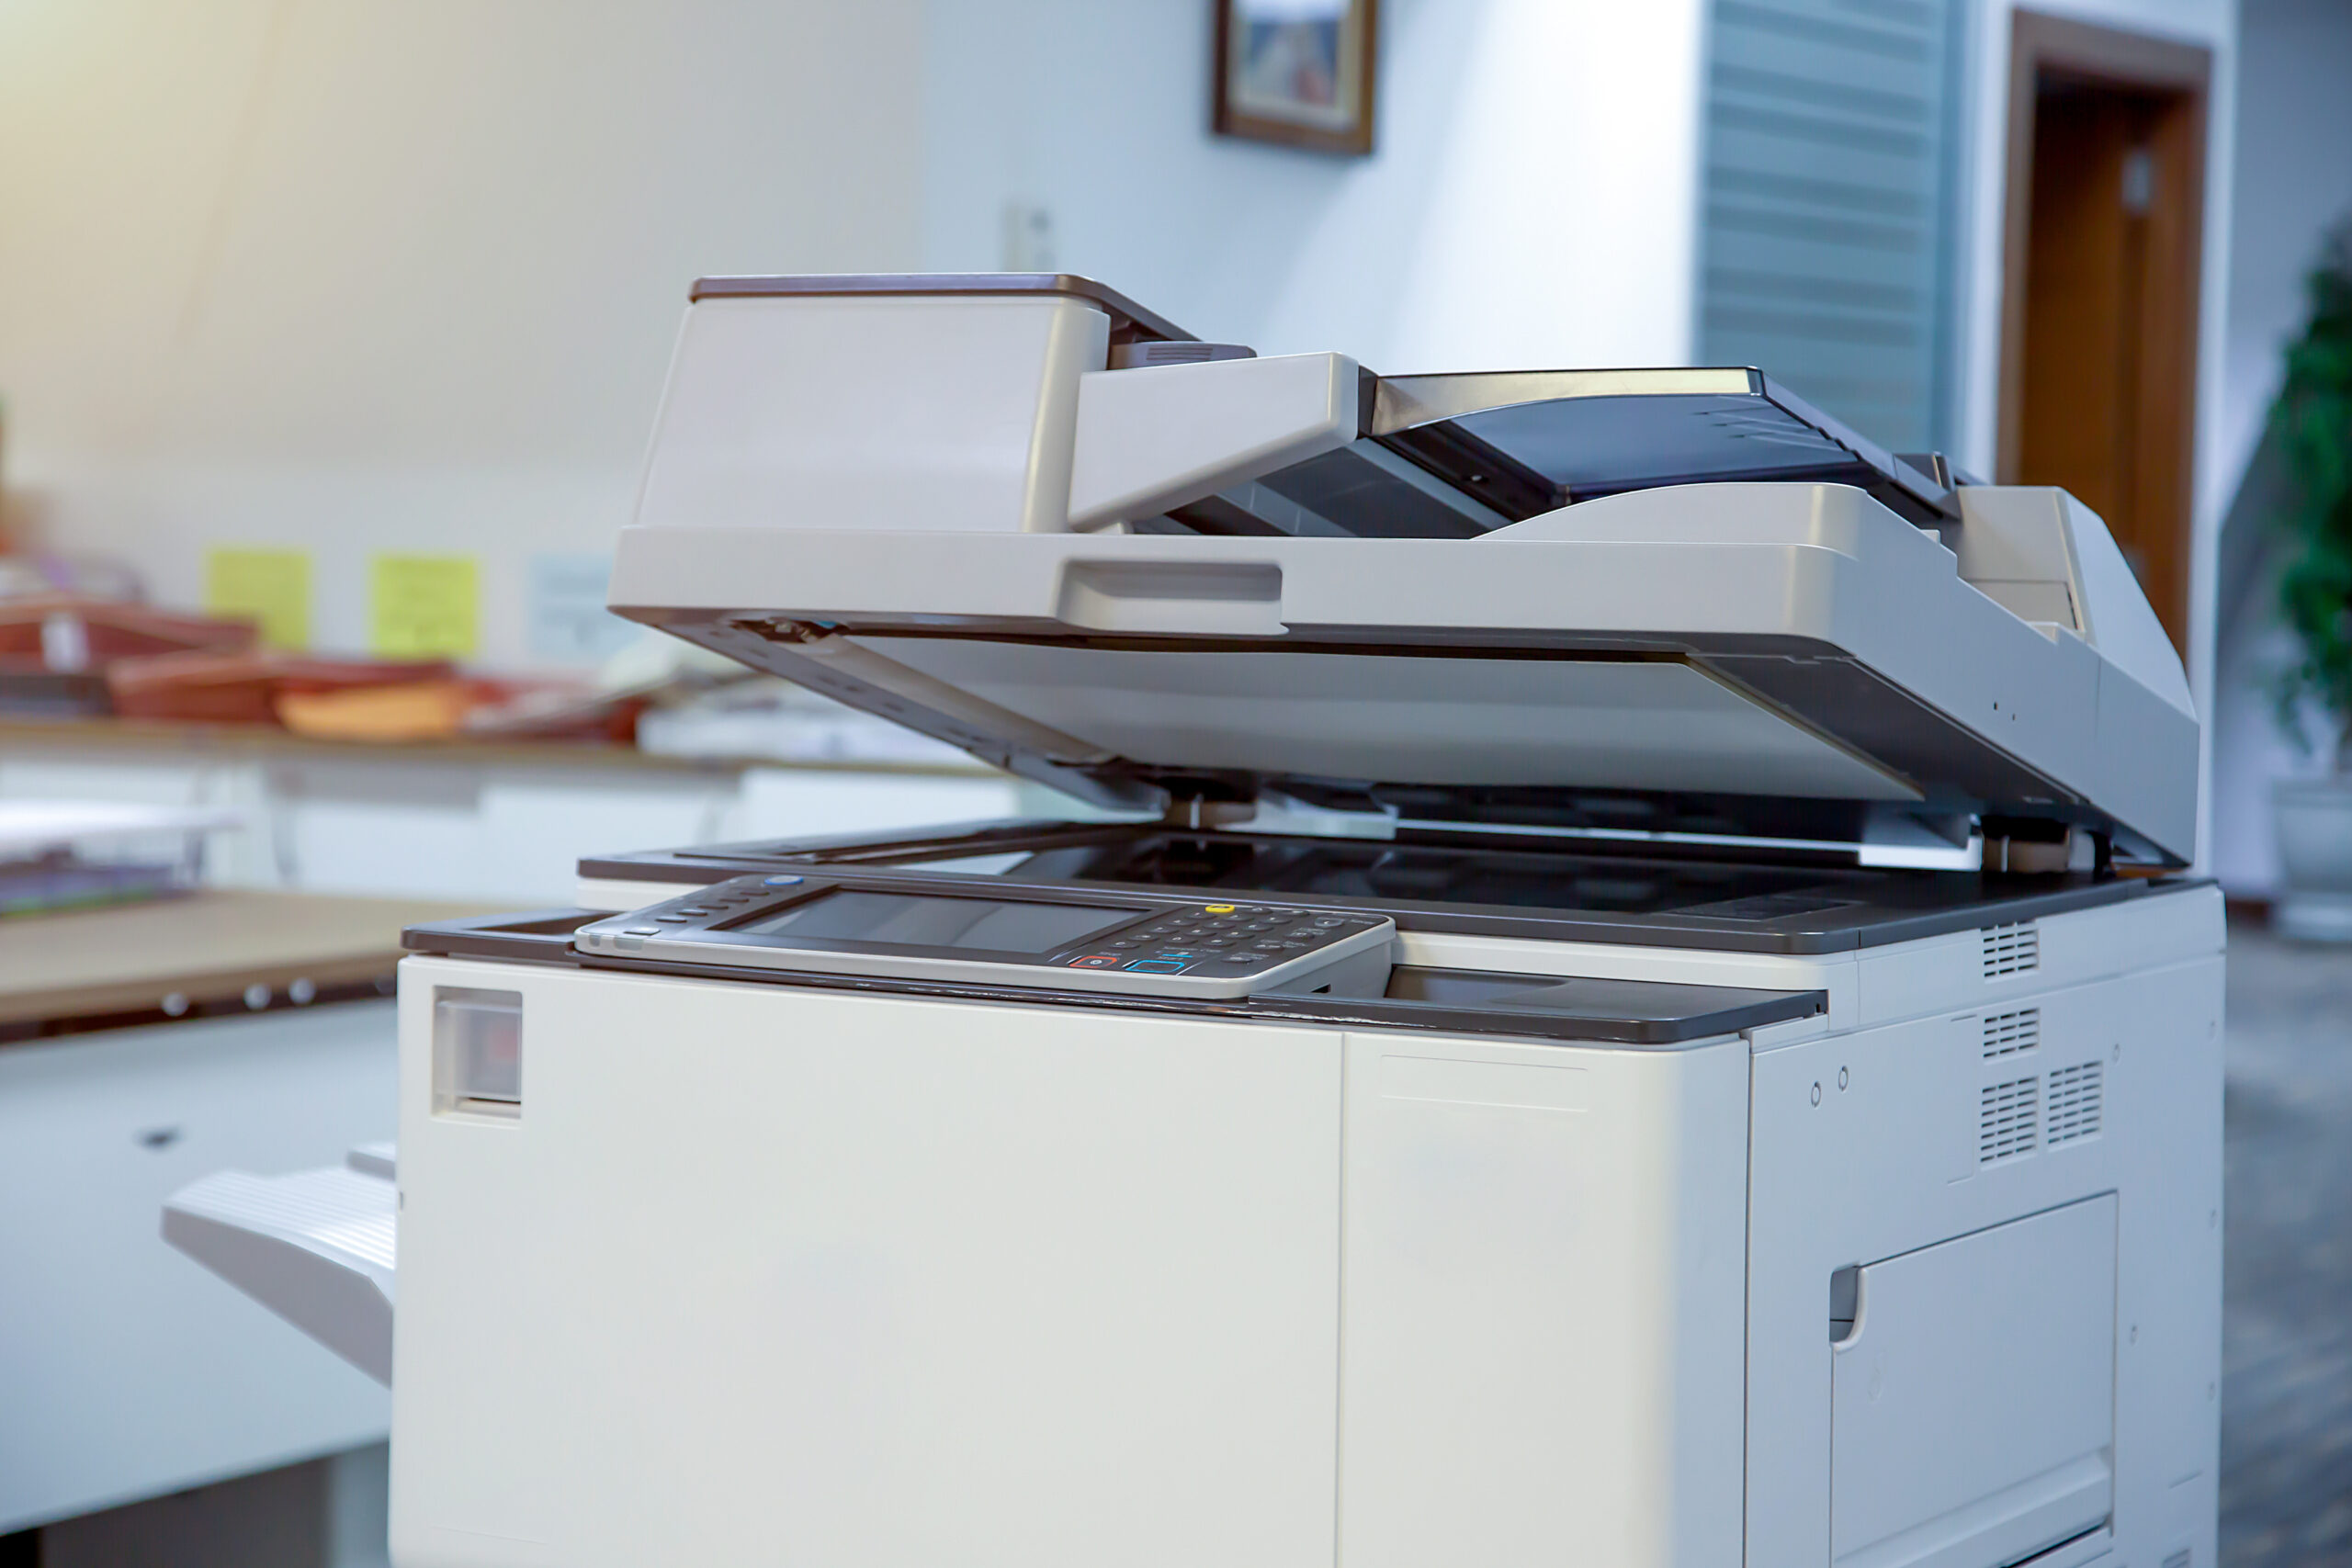
A photocopier, sometimes referred to as a copier or copy machine, produces paper copies of documents. The majority of photocopiers employ xerography, a dry printing technique that uses electrostatic charges to transfer toner onto paper in the same location as the original document before bonding it into place using heat and/or pressure. Although some may employ an integrated scanner and inkjet printer, modern digital photocopiers frequently consist of an integrated scanner and laser printer (which also prints using a xerographic technique). Although there are also colour photocopiers available, standard photocopiers typically utilise black toner to generate black and white copies.
What is the difference between photocopy and Xerox?
The primary distinction between Xerox and Photocopy is that the former is an American document management company, while the latter is a tool for document reproduction.
Xerox is a corporation name that has been registered as a trademark, whereas photocopying is a method. It is technically a kind of trademark infringement to use the term “Xerox” to signify creating a digital or photographic picture of something because Xerox is the corporation that pioneered commercial photocopying in the late 1950s. The rationale is that it equalises photocopying across all processes and quality levels, and businesses want to safeguard their investment when they have a distinct or superior product. In this way, products from brands like Kleenex, Band-Aid, and Thermos have also become genericized.
What are the origins of photocopy?
Chester Carlson invented the new technique known as “electrophotography” in the fall of 1937. He was a patent lawyer and obviously a man of many skills. He created the first photocopier after developing electrophotography, often known as xerography. The “10-22-38 Astoria” was what it was called, and his revolutionary photocopier undoubtedly revolutionised business as we knew it!
He became quite wealthy thanks to his innovation because it was so useful and original. After creating this incredible innovation, he was showered with praise and attention. He also triggered the development of a billion dollar specialised sector.
Full-colour copiers were not commercially accessible until 3M introduced the Colour-in-Colour copier in 1968, which employed a dye sublimation method rather than traditional electrostatic technology. Colored toner was first made available in the 1950s. Xerox introduced the 6500, their first electrostatic colour copier, in 1973.
How to photocopy double sided?
This is also known as duplex copying. You may produce a double-sided copy of two single-sided documents using the duplex copy function. Each photocopier will have its own process for how to achieve double sided printing.
Long Edge Flip refers to the ability to read both sides of the duplex copy by flipping the paper on its long edge. This can be done by turning the pages of a book when the original print is in portrait orientation or by flipping a notepad’s pages over when the original print is in landscape orientation.
Short edge flip describes the ability to read both sides of the duplex copy by turning the paper over on its short edge.
Please note that our self-service photocopiers only offer single sided photocopying.
How were documents copied before photocopiers?
A carbon copy was a typed or written document that was laid on carbon paper before photographic copiers were invented, as well as the carbon copy sheet itself. When business letters were copied in this way, it was traditional to indicate to the primary recipient that carbon copies had been prepared and sent to the people specified below the colon by using the abbreviation “CC” or “cc” before a colon and underneath the writer’s signature. “cc” is employed as a purely formal signal of the dissemination of letters to secondary recipients since the invention of word processors and e-mail.
Between two or more sheets of paper, a sheet of carbon paper is inserted. The pigment from the carbon paper reproduces the comparable mark on the copy sheet when pressure from the writing instrument (pen, pencil, typewriter, or impact printer) is applied to the top sheet. By stacking many sheets of carbon paper between each pair, you may make several copies. The realistic maximum is four or five copies. Each successive page is referred to as a carbon copy, whereas the top sheet is the original.
When was photocopy machine invented?
The first photocopying device and the associated technologies were created in 1938 by American inventor Chester Carlson. Office staff utilised duplicators or carbon paper to produce several copies of papers before this.
How to use a photocopy machine?
Most businesses require photocopiers, which might be intimidating if you’ve never used one before. It might be confusing to know what each button and function accomplishes because there are so many of them. But, as soon as you’ve successfully replicated anything once, you’ll be an expert.
As every photocopier is unique, we always advise reading the manual prior to trying to copy, print, or scan anything. But, to make things simpler for you, we’ve put up a generic, step-by-step manual on how to use a photocopier that will help you become proficient with this ubiquitous office device.
1. Switch on the copier
Making sure the power cord is correctly plugged in is the first and most crucial step. Next, turn on the machine by pushing the power button. The power button is often located on the machine’s face, however it can occasionally be found on the side. Today’s copiers typically offer a power-saving option as well, so keep that in mind. Press the sleep mode button to wake up the device if you can see it is on but not responding.
It’s also crucial to inspect the paper tray, which is often located at the base of the device. If the paper tray is empty, carefully place paper on it to fill it up. Don’t overfill it because doing so might lead to a paper jam and other issues later.
2. Let the Copier to Warm Up
Your business photocopier will probably require a few minutes to warm up before it can function correctly if it is a large machine with a variety of parts and functions. Older computers will warm up considerably more slowly, thus the same applies to them. Even while newer, smaller machines can warm up rapidly, it’s still wise to wait at least two minutes for them to completely awaken.
3. Position Your File on the Copier
The glass surface of the photocopier may be seen by lifting the lid. The paper should be placed on the glass in this position with the front facing down. Often, the copier will have some instructions that you may use to correctly insert the document. Close the lid after the positioning is ideal.
4. Choose the quantity of copies.
The machine’s screen will then show an instruction menu where you’ll be prompted to choose the amount of copies you’ll need. Some photocopiers will display this as a list or will demand that you manually enter the number.
5. Choose your preferred colour scheme.
The following step is to decide which colours you prefer. if black & white or colour copies are required. If the option is originally absent from the screen, select settings by clicking the menu button. There, you may choose your preferred colour and store it for use in future copies. But, it’s crucial to keep in mind that not all copiers offer this feature.
6. Choose a paper size
The paper size is the final item you must select. Whether you require envelopes, posters, or any other unusually sized paper, the majority of modern copiers feature several paper trays that can all take different paper sizes. A4 paper is 8.5 x 11 inches, which is the standard paper size. If your copier doesn’t have numerous trays, you can choose the paper size from the settings menu before loading the tray with paper that is the right size.
7. Press the “Copy” button.
To begin printing your copies, finally click the copy button! Once more, this button is often located on the machine’s top.
PRINTER
Where can I print near me?
London Print Kiosk is open 8am-8pm every day (including weekends) for self-service printing services. You can print in A4 and A3 in black and white, and colour.
We are located at 199 Walworth Road, London SE17 1RL (opposite McDonald’s)
What is printer paper?
Ordinary printer paper for daily printing is commonly A4 in size, 80gsm in weight, and white in colour. Printer paper is the most typical form of paper used in homes and companies. It may be used for basic stationery needs and is compatible with the majority of laser, copier, and inkjet printers.
What other types of printing paper are available?
There are several varieties of printing paper, each with unique applications and advantages. The most prevalent kinds of printing paper are listed below:
Inkjet Printer Paper
This particular kind of paper is intended just for use with inkjet printers. Several types of inkjet paper, such as picture, glossy, business card, and greeting card varieties, are compatible with inkjet ink.
Laser Printer Paper
The ideal way to utilise laser paper is with a laser printer. This is more frequently utilised in professional settings for things including printing paperwork, checks, and shipping labels.
Matte
This paper is one of the most popular since it works well for all types of routine printing. The white coating on matte paper helps the ink dry more rapidly than on other varieties of paper, making it ideal for a quick turnaround document.
Bright White
Brilliant white paper sheets are significantly smoother and untextured than other types of paper, making them perfect for professional-looking double-sided printing. The paper’s brightness makes it possible to print on both sides without worrying about the ink bleeding through to the other side.
Glossy
As this paper type can generate vivid colours and crisp pictures, it is typically utilised for printing photos or photographs rather than text. Ink is absorbed by the glossy surface, producing pictures with far greater clarity than you might get from plain paper.
Card Stock
This robust, durable paper is most frequently used for scrapbooking or to print postcards and business cards. It is substantially more robust and may be carried and shared around without being frayed since it is significantly thicker than other kinds of printer paper.
Resume
This type of printer paper is distinct from other types of printer paper because it is a little thicker than regular paper and appears off-white. Resume paper, which is frequently used for CVs and other significant papers, has an ivory or cream tone to convey that the written content is of great value.
What is a printer?
An external hardware output device known as a printer converts digital data stored on a computer or other device into a physical copy. You may print numerous copies of a report you produced on your computer, for instance, and distribute them during a staff meeting.
The size, speed, sophistication, and price of printers varies. For more frequent printing or colour printing with high resolution, more costly printers are often employed.
Impact and non-impact personal computer printers can be distinguished from one another. Early impact printers used a key to make an inked impression on the paper for each printed character, operating somewhat like an automated typewriter. A common low-cost choice was the dot matrix printer, an impact printer that prints one line at a time on the paper.
The inkjet and laser printers are the most popular non-impact printing devices. Whereas the laser printer employs a laser beam reflected from a mirror to attract ink (referred to as toner) to specific paper locations as a sheet rolls over a drum, the inkjet printer sprays ink from an ink cartridge at very close proximity to the paper as it rolls past.
What are the origins of printing?
Once Johannes Gutenberg created the printing press in the fifteenth century, modern printing emerged (1398-1468). But, print has a far older history than that. There will be two components to this blog. Part 1 will cover the development of print from 3000 B.C. to Gutenberg’s groundbreaking innovation. The second section will provide a succinct overview of the development of the sector up to the present.
There is currently proof of printing methods in the form of artefacts that are thought to date back to at least 3000 B.C. They were from Mesopotamia, which is modern-day Iraq, and were made using clay tablets and round seals to imprint pictures. Stamps were used by early cultures in China and Egypt to print on fabric. Eventually, the Chinese started printing on silk with wooden blocks. A further innovation happened when print was created using the three fundamental colours of cyan (blue), magenta (red), and yellow during the Han Dynasty (about 220 a.d.). Black may be paired with any other colour to produce a kaleidoscope of almost all other colours.
The first “Acta Diurna” emerged under the Roman Empire, which is a bit further back in antiquity, in or around 130 B.C. This is a Latin term that means “Daily Actions” and might be regarded as the very first newspaper. To spread information and ideas throughout the Empire’s provinces, they were delivered by scribes after being copied from originals that had been carved into stone or metal at the time. This was a significant development since newspapers and print would later come to be associated for centuries up until the present.
Moveable type was initially widely used by Europeans, and in the middle of the 15th century, Johannes Gutenberg created what is regarded as the first printing press. The automated transition from movable type to print distinguished Gutenberg from his Chinese forebears. Mass manufacturing was made feasible by automating the process and switching from manual assembly to machine assembly, along with the use of better ink manufactured with linseed oil and soot rather than the Chinese water-based ink. Industrial-scale, cost-effective book production printing started, and the print industry started on its path to lucrative, exponential expansion.
We can see that recent technological advancements have produced incredibly impressive production workhorses capable of quick drying times and versatile enough to print on plastic substrates in addition to conventional paper and magazines by comparing the printing methods with today’s litho print machines. In order for any printing company to achieve a competitive edge nowadays, production speed and turnaround times are essential. Print machinery manufacturers are just as competitive with one another in the pursuit of business in the form of capital investment as printers are with one another as they ruthlessly undercut one another to win consumer-facing customers. Print machinery manufacturers are high quality, waste reduction, and fully loaded with the latest UV and LED technologies.
How to print double sided?
Duplex printing, commonly referred to as double-sided printing, is the process of printing documents on both sides of a single sheet of paper. It’s easy to print papers on both sides.
Double-sided printing is possible. There are two different varieties of double-sided printing. Printing on both sides of a page normally allows you to start with the odd-numbered pages. After printing these pages, the paper may be reloaded to print the pages with an even number on the other side of the paper.
Whether you’re putting together reports at the office or making homemade gift cards at home, there are many printing needs for the home or company that call for double-sided sheets.
What are the benefits of double sided printing?
Whether you want to speed up the printing process or cut down on the amount of paper your company uses and wastes overall, printing double-sided may be quite useful.
- Costs may be reduced: When opposed to single-sided printing, duplex printing can actually help you or your company consume less paper. You’ll notice a decrease in your printer’s energy operating expenses as a result of duplex printing, which accelerates the printing process by producing two sides of a page in one. This might be beneficial if the printer is used often in a busy office environment.
- Time can be saved: By setting up your documents to print two sides automatically, you should have to wait less for them to print because your printer will have less paper to handle and may even be able to print both sides simultaneously.
- It’s more environmentally friendly: You may lessen your environmental impact by using less paper and less electricity to run your printer. To further lessen your influence on the environment, combine this with Brother’s printer and toner cartridge recycling programme. Of course, you may recycle any paper you no longer need to
How were documents printed before printers?
Before printing presses were invented every writing or painting had to be done carefully by hand before the printing press was created. Books were copied on clay and papyrus, wax, and parchment, among other materials. Not just anybody was permitted to accomplish this; rather, scribes who lived and worked in monasteries were often the only ones permitted to perform such tasks.
The printing press’s inspiration and invention: John Gutenberg, a German, was extremely motivated to discover a means to generate money in the late 1430s. When visiting holy sites or icons, it was common practise to fasten tiny mirrors to one’s hat or clothing in order to absorb their healing energies. Although the mirrors themselves were unimportant, Gutenberg discreetly observed how profitable it was to produce large quantities of a low-cost good.
In the 1300s and 1400s, a very primitive type of printing had been invented by humans. It involves carving words or pictures onto wooden blocks. Ink would be applied to the block, which would then be stamped into paper.
The operation of a printing press: A frame is used to position groups of type blocks on the original printing press. These pieces combine to form words and phrases, but they are all in reverse. After inking all of the blocks, a layer of paper is placed on top of them. To guarantee that the ink is applied to the paper, all of this is passed via a roller. Eventually, the paper is raised, revealing the inked letters, which now look normally due to the reversed blocks.
These printing presses were operated by hand. Eventually, in the nineteenth century, other innovators developed steam-powered printing machines that did not require a hand operator. In comparison, modern printing presses are computerised and automated, and they can print at a far quicker rate than ever before!
There are several types of printing presses available today, each suited to a certain sort of printing, including letterpress, offset press and digital press.
Why can’t you print money?
Printing additional money has no effect on economic activity; it just increases the amount of currency in circulation. Consumers can want more things if more money is created, but if enterprises still have the same number of items, they will respond by raising prices. In a simplistic scenario, creating money simply leads to inflation.
When was the printer invented?
Nobody knows when or who created the first printing press, although the first known printed text emerged in China during the first millennium A.D.
The Diamond Sutra, a Buddhist book from Dunhuang, China, published about 868 A.D. during the Tang Dynasty, is said to be the world’s earliest known printed book.
The Diamond Sutra was printed using a technique known as block printing, which included printing panels of hand-carved wood blocks in reverse.
A printed calendar from approximately 877 A.D., mathematic charts, a vocabulary guide, etiquette training, funeral and wedding guides, children’s educational material, dictionaries and almanacks are among the numerous works that have survived from Dunhuang.
How to use a printer?
Every home appears to have a printer. If you don’t have one, you probably know someone who does. Although having a printer is a fantastic convenience, learning how to use one for the first time might be difficult. All of the different models become easy to use once you understand how to use them, and there are so many things you can do with them.
Step 1: Make use of a printer Even basic printer setup is really simple. There are several printer models available. You may choose between a simple printer and an all-in-one printer. The printer with everything on it functions similarly to a standard printer, only there are a lot more buttons to press.
Step 2: Before using your printer, ensure that it is correctly connected. If the printer is fresh new, it will do a check and print a test page for you. You can switch it on and hear the ink going around a bunch of different times. Something on the PC may inform you that the printer is turned on and operational.
Step 3: Go to the page you want to print. If you’re browsing the web and want to print something from it. All you have to do is navigate to file, then page set up. This will provide you with additional printing alternatives. When you’re through configuring the page, click “Printer” at the bottom to make sure you’re using the correct printer. When everything appears fine, click “OK,” and your page should now print.
Step 4: Open a “.doc” file if that is where you want to print your page. When you are ready to print go up to “File” and “Print Setup”. Again, you may customise the appearance of your page and ensure that the correct printer is installed. If your page is configured correctly, simply click the printer icon in the toolbar or go to “File” then “Print.”
Step 5: Frequent printing can deplete your ink supply over time. Certain printer models alert you when your ink supply is running low. If you have an older printer you will just have to go by what the printed page looks like. If it is very worn and faded, it is time to replace the ink cartridge.
What is the composition of printer ink?
Ink is a pigment or dye-containing liquid or paste. Pigments are responsible for the colour of ink and can originate from a range of sources that contain nitrogen compounds, often known as dyes. Ink is used in printers to make copies of digital text or graphics. Almost 90% of inks produced are printing inks, which employ pigments to add colour rather than the dyes used in writing inks.
How printer ink is made?
Ink is manufactured from a variety of components such as varnish, resin, solvents, pigments, and additives such as waxes and lubricants. Carbon black pigments are used to make black ink, whereas white pigments such as titanium dioxide can be used to lighten other ink colours.
Varnish is a transparent liquid that serves as the foundation for all inks. Varnishes are manufactured for various inks, but they are always made by combining the resins, solvents, and additives to make a uniform mixture, frequently at high temperatures.
Resins, which bind the ink elements together, react with each other and increase the viscosity of the varnish. The pigments are then combined into the varnish and broken down to break out any clumps and ensure that the colours are equally distributed throughout the ink.
What is the difference between ink and toner?
Both ink and toner are used for home and commercial printing, although they are applied to paper in distinct ways.
Ink is a liquid that has been coloured with pigments and dyes and is used in inkjet printers. There are two kinds: dye-based (colourants that are dissolved in liquids) and pigment-based (fine powder suspended in liquid).
Inkjet printers use small nozzles to spray tiny drops of ink onto paper to generate a copy of digital documents or pictures.
Toner, on the other hand, is a fine powder composed of polyester, which is a sort of plastic. In a laser printer, an electrostatic template of your picture is created on a revolving metal disc that carries an electrical charge.
A cartridge distributes toner onto the drum, but the toner only adheres to locations where the laser alters the electrical charge of the drum.
How do inkjet printer cartridges work?
Most computer users are aware of inkjet printers, which produce relatively high quality printing and may be utilised in a range of sectors. Inkjet cartridges operate on a very simple and clear concept. Inkjet cartridges are ink reservoirs that connect to a set of small nozzles known as the print head, which is used to make extremely small dots of ink. The nozzles can be used to make letters in a single colour, such as black. Colours from inkjet cartridges can also be blended to create a colour image.
The Cyan, Magenta, Yellow, and Key, or Black (CMYK) colour model is used by the majority of colour printer cartridges. The four colours are stored in separate reservoirs, which are sometimes combined into a single cartridge and sometimes supplied separately as separate inkjet cartridges. These may be blended in specified proportions to create hundreds of different hues, resulting in beautiful, evenly toned colour pictures on a variety of materials. When a user prints a document, the data transferred from the computer to the printer contains the CMYK formula for each pixel in the picture, which the print head copies with hundreds of tiny nozzles that fire at the same time.
Numerous manufacturers provide inkjet cartridges that include a print head. This is because the print head is one of the most highly utilised elements of the printer: by incorporating it with inkjet cartridges, manufacturers ensure that the print head is updated on a regular basis, allowing for good print quality. Ink is forced out of the print head using either heat or vibration. The ink is vaporised in thermal print heads, forming a tiny bubble that is driven out of the nozzle and onto the paper. Vibrating print heads use movement to drive ink out.
As most users are aware, print quality with inkjet printers can vary greatly. The resolution is the first component that might affect print quality. Since resolution relates to how many dots per inch (DPI) the printer can generate, the greater the resolution, the better the picture quality. Low DPI printers generate blurry or ragged images. The paper chosen can also affect quality since low grade paper allows ink to scatter over the page, blurring the edges of the dots. Because high-quality printer paper does not allow for this, each dot stays clear and distinct.
How inkjet printers work?
There are a variety of printing methods available. This comprises Laser, Inkjet, Thermal, Dot Matrix, and Solid Ink, however the laser and inkjet technologies are the most routinely produced and widely utilised.
Printers, at their most basic, transform digital pictures and text into physical copies. They accomplish this by utilising a driver or specialised software intended to translate the file into a language that the printer can comprehend. A succession of microscopic dots is then used to replicate the picture or text on the page. The only fundamental distinction between printers is the mechanism through which the dots are placed onto a paper.
Inkjet printers have a print head comprising hundreds of small precise holes referred to as “nozzles”. The nozzles drop or expel minute droplets of ink onto the paper put into the printer at rapid speeds.
Inkjet printers employ liquid ink, which is either a coloured dye or a liquid containing suspended solid pigments. The paper travels through perpendicular to the print head as it advances horizontally through the machine.
Once the page goes through, the nozzle in the print head is triggered (typically by heat or electricity, depending on the manufacturer), and a little drop of ink is expelled or sprayed onto the paper. This procedure is carried out at rapid speed, with thousands of droplets forming together to reproduce the digital text or picture being transferred onto the medium. Since the dots are so small, the whole picture seems solid to the human eye.
What is the difference between Photostat and Photocopy?
These terms, as we can see, have some similarities. Despite this, they are not exactly the same. Read the following text to learn how to recognise and use each of these terms appropriately.
The spelling is the primary distinction between these terms. They are synonyms, which means they have the same definition. “Photostat” is used to duplicate a printed image, whereas “photocopy” is used to duplicate with a photocopier. Nevertheless, the word “photostat” is obsolete and should be replaced with “photocopy.”
What is the origin of the words Photostat and Photocopy?
The term “photostat” dates from the twentieth century. This word was first used to refer to the name of a product from a brand in 1909, but it became a noun in 1914. “Photostat” is derived from the word photo-, which means light, and the suffix -stat, which implies instantaneously.
The term “photocopy,” on the other hand, dates from 1924. The phrase derives from the prefix -photo and the word copy combined.
How Often Can These Terms Be Used In A Sentence?
Several names might be used to describe the device created in the 1900s (photostat). Moreover, you may use the term “photocopy” to describe the process of making a duplicate of a physical document, sheet of paper, or image. As they are synonyms, you can theoretically employ both in the same sentence. But, as was previously indicated, the most appropriate term is “photocopy,” not “photostat.”
Examples of Sentences Using “Photostat” and “Photocopy”
- The photostat machine was first made available to the general public in 1900.
- At a used goods shop, I discovered a photostat machine. Nevertheless, it doesn’t function.
- Do you know what a photostat is? My great grandpa was one of the inventors of the photostat machine. You’re too young, in my opinion, to comprehend.
- I require a copy of the invoice. I cannot return my buy if I misplace it.
- Always have a photocopy as a backup. The last time, though, that business informed me that they need a different version of my paperwork.
- It is against the law to sell any of these photocopies. You could go into problems if you carry on in this manner.
- I must provide a certified copy of my birth certificate. Will you kindly provide me with a copy of it?
- Make a duplicate of your document and save it. You can’t predict when you’ll need it.
- Please do not print that photocopy if you are not planning to utilise it. With very little effort, you can benefit the environment.